NST Getting Started
Create Boot Media
Download ISO Image
Prepare Boot Media
Burn ISO Image To DVD
Copy ISO Image to USB
Create Live USB Image
Boot
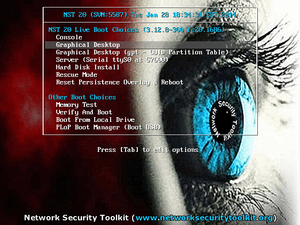
There are two ways to boot and use NST. A live boot, allows you to try out NST or use it for temporary rescue and analysis situations. A live boot has several limitations, but allows you to run NST without modifying your system. If you find NST to be useful, you will want to perform a full hard disk installation. Once installed to a hard disk, the NST will work like a typical Linux system - except that you will have a plethora of tools available to you through the comfort of your web browser.
Live Boot and Use

Live Boot and Install

From the live boot screen, select the Hard Disk Install boot option. After a few moments (depending upon the speed of your hardware), you should be taken to the hard disk installation screen shown below.
From this point, you should be able to proceed with the NST 20 Hard Disk Installation.
Hard Disk Boot

Log In

Default Users/Passwords
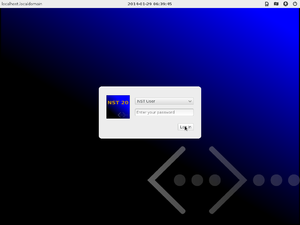
The NST has two primary user accounts nst and root. You can log in using either of these accounts. For a live boot there is no password required (just press the Enter key or leave the password field blank).
Set Passwords

Bring Up Web User Interface
Explore
The NST is packed with a lot of tools and information (it can be a bit overwhelming). The following lists a set of tools that require a minimal amount of effort to get you started with.
- HowTo Use The NST WUI arp-scan Page To Quickly Locate Hosts
- Bandwidth Monitor
- Add other trivial tool links here
- And many more ...